Showing posts with label recipes. Show all posts

Tuesday, February 23, 2016

Taco Soup

Another quick, easy, delicious recipe from my friend Kristi.  This soup is full of yumminess, hearty and inexpensive to make!  One recipe has nine - one cup servings and it costs about $10 to make, you can't beat that!

Step one: Line up all your ingredients for a pretty picture:

Step two: brown meat in a skillet on the stove top

Step three: after a few minutes of cooking, add diced onions

Step four: while the meat and onion are cooking away, start filling your crock pot with the remaining ingredients


Step five: if you are like me, you dont love whole stewed tomatoes, so I add an extra (totally unnecessary) step by chopping up the tomatoes to be smaller bits,
like so, after they are chopped, go ahead and throw those in the crock pot too!

Step 6: If you timed everything beautifully cause you are just that good, your meat would be getting close to done by the time you got everything else in the crock pot.

Step 7: Once the meat is almost cooked through, add the Rank seasoning packet and the taco seasoning packet


Step 8: then move the meat right into the crock pot with everything else:

Step 9: combine and let cook on low heat for 4-6 hours or longer if you go to work and have to set it before you leave :)

Step 10: Enjoy and maybe top with a little sour cream, cheese and avocado--just a suggestion!

Now for the recipe:

Ingredients:
* 1 pound lean ground beef
* 2 (15 ounce) cans stewed tomatoes
* 1 large onion, chopped
* 1 (1.25 ounce) packet taco seasoning mix
* 1 (1.25 ounce) packet ranch dressing mix
* 1 (15 ounce) can chili beans (I use pinto)
* 1 (15 ounce) can black beans
* 1 (15 ounce) can whole sweet corn

Directions: 
1. Brown the meat and onions and drain, if needed.
2. Mix in taco seasoning and ranch dressing mixes into the meat.
3. Add the remaining ingredients into the crock pot, without draining.
4. Add meat mixture into crock pot and stir to combine all ingredients.
5. Cook on low for 4-6 hours.
6. Serve hot, top with sour cream and shredded cheddar cheese.

Monday, January 11, 2016

Easy Garlic Chicken

The title does not lie, this really is EASY garlic chicken, though I think it really should be called Easy Garlic and Brown Sugar Chicken, but I digress!  This has been a family favorite for years, so I am not sure why I am just getting around to finally taking pictures and sharing the recipe, but I doubt you will be disappointed when you give it a try.  And honestly if you have ever been to my house for dinner you have likely had this recipe so you can attest to its deliciousness. 

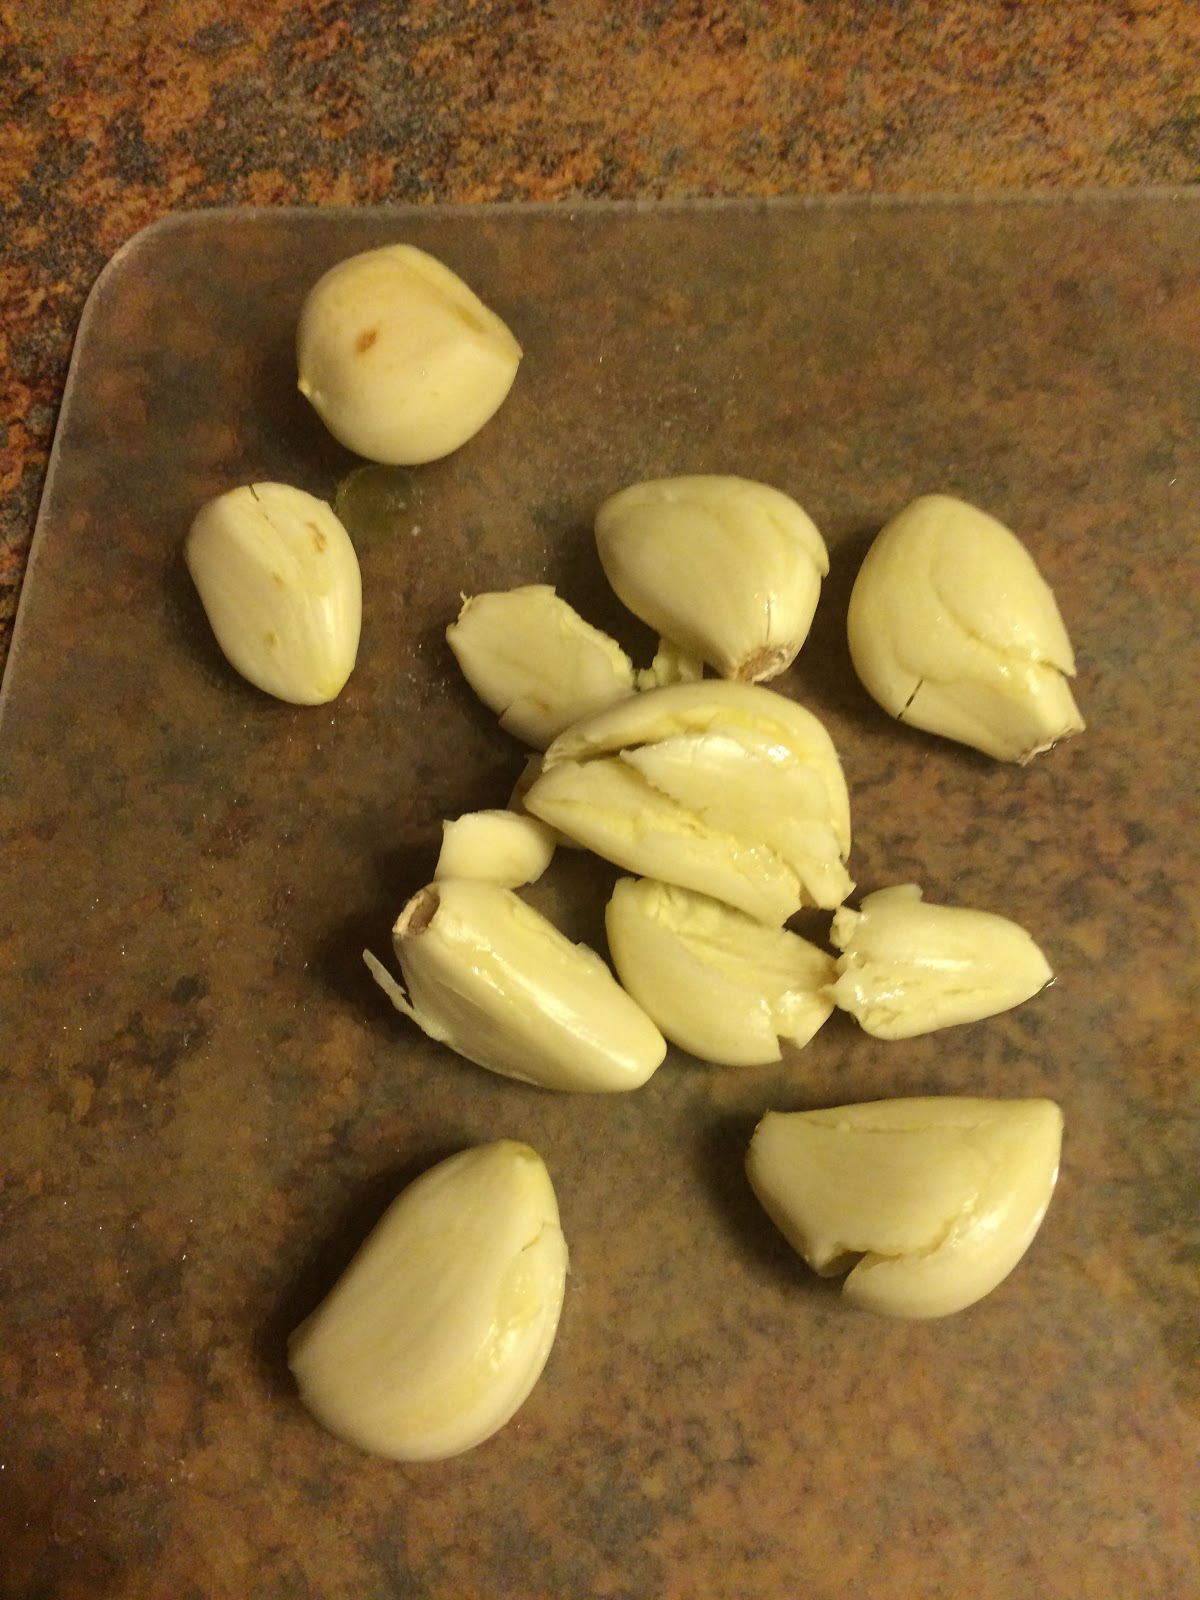
You will want to start with garlic, a lot of garlic.  Think about like a whole bulb almost, I told you it was a lot!  

First things first, peel off the cloves...


Then peal the cloves so the "skin" is not left on them.

 Next, use your handy dandy, Garlic Rocker.  What's that?  You don't have one, well then go here and buy one now, seriously, its so great for chopping lots of garlic.  Want to know what I mean, check out these pictures:

One garlic clove chopped in seconds:

Once you have all the Garlic chopped, put it in a small frying pan.

Then assemble the chicken on an aluminum foil covered cooking sheet (you will thank me later when you don't have to scrub that pan cleaned).  Salt and pepper the chicken to taste, aka lightly season it.

Next mix in the Olive Oil in with the chopped garlic and turn heat on.

While the garlic is starting to cook, measure out the brown sugar in a prep bowl, like so:

You want the garlic to infuse with the oil, but not to overcook, so keep a close eye on it.....
 Looks about right:


Next, pull the garlic and oil mixture off the heat and dump in the brown sugar:

Combine both until it is thoroughly mixed and you have something that looks like this:


Now divide up the brown sugar mixture evenly onto the chicken pieces:

Then spread out to cover the chicken and pop in the oven.

About 15-20 minutes later you will have delicious, juicy chicken:  (Note: do not overcook your chicken, seriously don't do it, get a meat thermometer so you can pull that mess out as soon as it hits 165 degrees)

Serve alongside your favorite side dish, this night it was roasted potatoes with a side salad.  Note, I spoon a little of the juice onto the chicken when serving:

Now for the recipe:

Ingredients:
* 4 boneless skinless chicken breasted (cut horizonately down the middle to create 8 pieces)
* 8-10 garlic cloves, minced
* 8 tablespoons brown sugar
* 2 tablespoons olive oil
* Salt and Pepper to taste

Directions: 


  1. 1. Preheat oven to 450°F Line a baking dish or cookie sheet with aluminum foil and lightly coat with cooking spray or lightly brush with oil.
  1. 2. In small sauté pan, sauté garlic with the oil until tender.
  1. 3. Remove from heat and stir in brown sugar. 
  1. 4. Season chicken with salt and pepper. .Place breasts in a prepared baking dish and cover with the garlic and brown sugar mixture.
  1. 5. Bake uncovered for 15-30 minutes, or until juices run clear. Cooking time will depend on the size and thickness of your chicken, use a meat thermometer til internal temperature reaches 165 degrees.

Monday, December 21, 2015

Balsamic Roast Beef

So I have made this recipe a few times before but it is quickly becoming a fan favorite, so I am sharing it with you all today.

This ends up making a pretty sweet balsamic roast.  It is not bitter like you think of vinegar being but it definitely has a balsamic flavor to it, so know that going in!  I served it in slices this time but it shreds very easily and would probably make a great sandwich too!  Let's get started!

Ingredients (yes, sometimes I buy discounted meat, don't judge):

You can of course buy chopped garlic, but I like using fresh garlic, so I chop my own, with my handy dandy garlic rocker, seriously get one now (this is not even an affiliated link or anything, I just love mine).

Then spray the crock pot and in goes the meat...

I mixed all the remaining ingredients in a large measuring cup so it would be easy to pour over the roast.

Mix well, incorporating all the honey and pour over the meat.  Note, it may not exactly cover, that is okay.  I actually put it in the fridge overnight and flip the meat in the morning before I turn it on.

Cook on low for 6-8 hours or until done, this was probably more done than I would have preferred but it was still delicious!

Slice up and serve...

Though this was not part of the original recipe, I reserve some of the juice and bring to a boil with some corn starch to make a gravy type sauce.  Then served it up this night with mashed potatoes (instant--don't judge) and steamed broccoli.

Now for the recipe:

Ingredients:
* 1 boneless roast beef (chuck or round), 3-4 pounds
* 1 cup beef broth
* 1/2 cup balsamic vinegar
* 1 tablespoon Worcestershire sauce
* 1 tablepoon soy sauce
* 1 tablespoon honey
* 1/2 teaspoon red pepper flakes
* 4 garlic cloves, chopped

Directions:
Place roast beef in slow cooker.  In a 2 cup measuring cup, mix together all the remaining ingredients.  Pour over roast beef and cook for 4 hours on high or 6-8 hours on low.  Once the roast beef is cooked, remove from slow cooker and break apart with two forks (or slice if you would prefer).  Laddle au-jus over the beef and serve, or see below for gravy.

Added direction: If you prefer a gravy instead of the au-jus.  Bring about a cup of the sauce to a boil and slow add 1/2 teaspoons of corn starch, stirring constantly until it thickens to desired consistency, remove from heat and spoon over meat.  This will become more like gelatin if you have it as leftovers so it really only works for the night you make it and will need to remake it for any leftovers, so store juice separately.


Monday, November 9, 2015

Delicious Chicken Enchiladas

I got this recipe years ago from my brother's now ex-girlfriend, Gracia, but I love it so much I wanted to share it on here!  It is seriously one of the easiest, most delicious things to make for a big group of people, so enjoy and feel free to serve at your next dinner party!


Step 1: Gather all your ingredients:

Step 2: In a bowl, cream together cream cheese, sour cream and 1/2 the salsa.  Then stir in 1 cup of the cheese

 Step 3: In a second bowl mix the corn, cayenne, 1/2 the scallions (in my case I did not have scallions, I had chives so I improvised and liked it) and chicken (I use shredded chicken from a rotisserie chicken).

 Step 4: Mix in the chicken mixture to the cream cheese mixture:


Step 5: Spread about 1 cup of salsa on the bottom of a baking dish, this helps to prevent the tortillas from sticking as they bake:


Step 6: Drop an equal portion of the filling mixture into each tortilla and roll up:


Hint: I had lots of counter space, so I did them all before I rolled in case there was extra at the end, I could spread it out:


Step 7: To Roll, pull sides in over the mixture, then...

fold bottom up over sides and continue rolling, until...

you have a burrito looking thing (so actually maybe this recipe is more a mix between a burrito and enchilada, but its good no matter what)!


Step 8:Then tuck them all tightly inside the pan (seam side down), it is okay if they overlap a little bit.


Step 9: Which I forgot to take a picture of, spread remaining salsa on top of the enchiladas and sprinkle with remaining cheese, then bake at 325 for about 20-25 minutes or until delicious, like so:


Step 10: When you pull out of the oven, sprinkle with the remaining scallions (or chives if you are like me), serve and enjoy!

Now for the recipe:

Chicken and Cheese Enchiladas

Ingredients:
* 4-8 oz cream cheese
* 1/4 cup sour cream
* 2-4 cups salsa
* 2 cups shredded cheddar cheese
* 2 cups shredded cooked chicken
* 8-14 soft tortillas (depending on what size you get, I got Burrito size, so I only did 8 for this recipe)
* 1 cup frozen corn, thawed
* 1/4 tsp cayenne
* 4 scallions, thinly sliced

Directions:
Preheat oven to 325 degrees.  In a bowl, cream together the cream cheese, sour cream, and 1/2 cup salsa.  Stir in 1 cup of the cheese.  In a second bowl , toss together chicken, corn, cayenne, and half the scallions.  Add chicken mixture to cheese mixture and stir to combine.

In a baking dish, spread 1 cup salsa over the bottom.  Place about 1/3 cup of the filling in each tortilla (I used more than that for this recipe cause I only had 8 shells), roll up and transfer to the baking dish with the seam side down.  Repeat the process for the remaining tortillas.  Pour remaining salsa on enchiladas and sprinkle with remaining cheese.  Bake for 20-25 minutes until hot and bubbly.  Sprinkle with remaining scallions and serve warm.

Note: These can be prepared up to 12 hours in advance.  Remaining can be reheated with an aluminum foil covering.